
The right screen recording software is essential for creating clear and professional tutorials. With many affordable options available, this guide highlights excellent tools that help you capture your screen, add annotations, and effortlessly create engaging instructional videos.

Screen recording software is an important tool for making tutorials. Whether you want to share tips, teach a skill, or show a product, having the right software can greatly help. Visuals in tutorials help learners understand concepts better. This section looks at what to consider when choosing screen recording software.
It’s important to find software that suits your specific needs. For instance, some tools offer easy editing features, while others focus on high-quality recordings. Think about what you want to achieve with your screen recording software tutorials. Are you going for simplicity or depth? You may need something that allows for annotations or voiceovers.
In addition to features, usability is key. You don’t want to struggle with complicated software when you’re trying to teach someone else. Look for intuitive interfaces that make recording and editing a breeze. Many users appreciate tools that provide quick access to settings and options, allowing for a smooth recording experience.
Lastly, Consider your budget carefully. There are many free and paid software options available. Free software can be a good starting point, but sometimes, paying for a tool can save time and improve quality. Take your time to explore different tools and find one that meets your needs.
Key Features To Consider In Screen Recording Software
Several key features can truly enhance your experience when using screen recording software for tutorials. First, look for a user-friendly interface. You want software that doesn’t require hours of learning to navigate. The easier it is to use, the more time you can spend creating your tutorials.
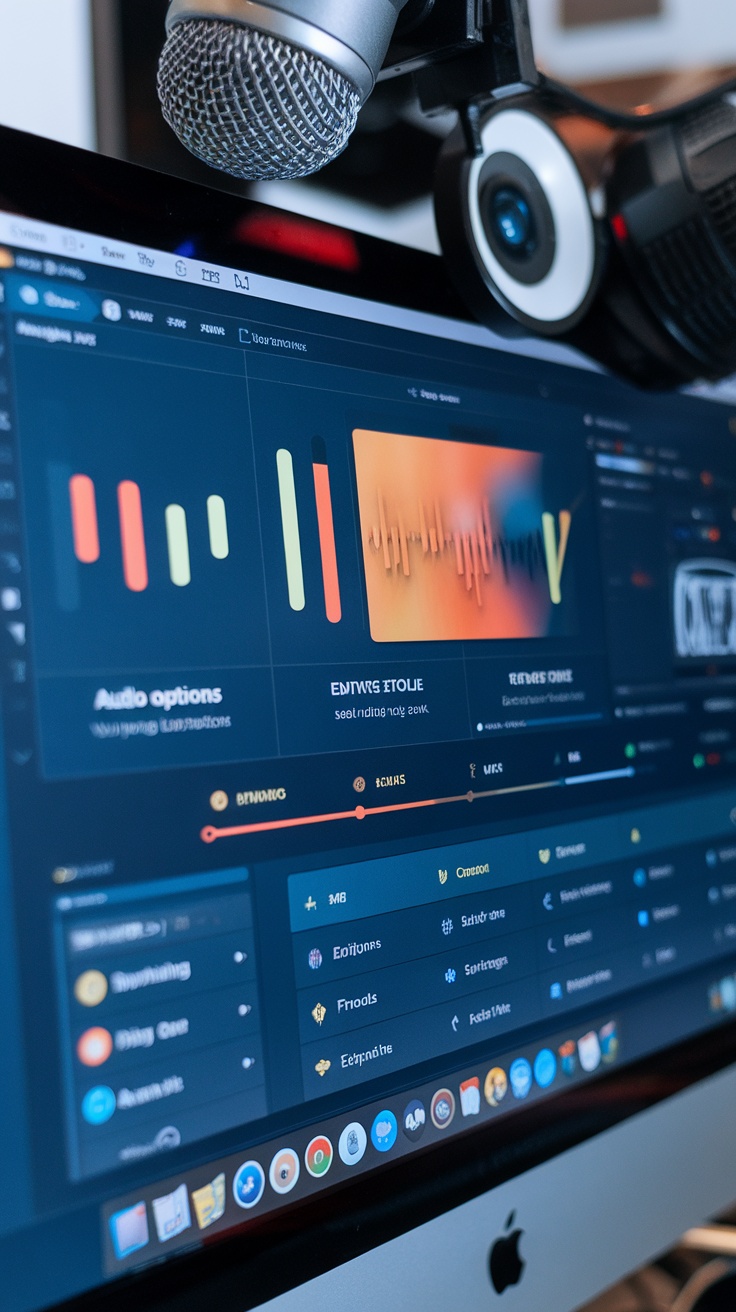
Next, think about the audio options. Good audio is essential, especially for tutorials. Clear audio controls can make a big difference whether you are recording your voice or including system sounds. Make sure the software lets you adjust audio levels or add background music easily. Video quality is another essential feature. Make sure the software supports high-definition recording. You want your viewers to have a clear view of what you’re demonstrating. Additionally, the ability to record in different resolutions can be a plus, catering to various platforms and audiences.
Editing tools are also worth looking into. Some software comes with built-in editing capabilities, allowing you to trim clips, add annotations, or insert effects without needing separate editing software. This can streamline your workflow significantly.
Finally, consider the export options available. If you aim to share your screen recording software tutorials online, make sure the software supports various formats and platforms. This versatility can help you reach a larger audience.
Best Screen Recording Software For Tutorials
Finding the right screen recording software for your tutorials is crucial for creating effective content. Look for user-friendly interfaces, easy editing options, annotation features, and good audio quality. Compatibility with multiple formats can also simplify sharing your videos.
Good support and regular updates are important for a smooth recording experience, so check user reviews for real-life feedback. Some software offers cloud storage, making your projects accessible from anywhere. Consider your recording environment for better video quality.
Finally, utilize free trials to explore features before making a purchase. With the right software, you will be prepared to create engaging tutorials that connect with your audience.
Obs Studio
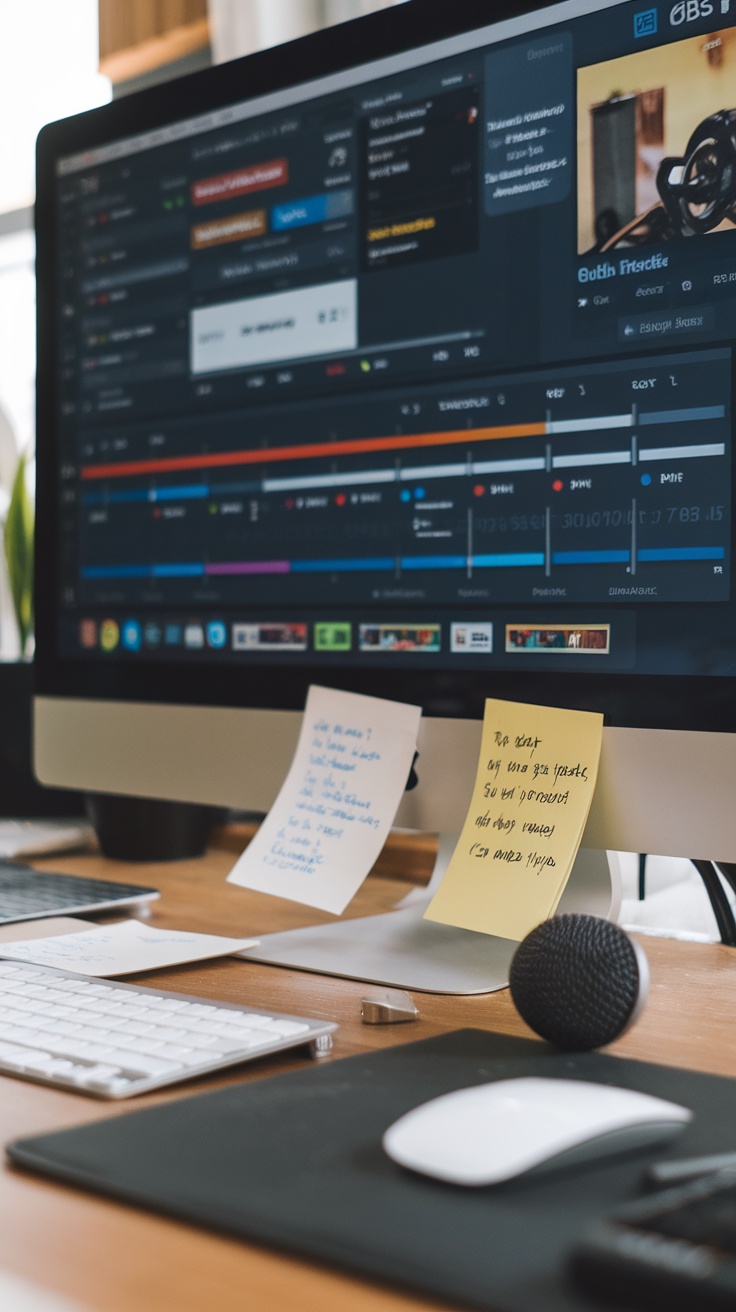
When it comes to screen recording software tutorials, OBS Studio stands out for its versatility and user-friendly interface. Whether you’re a beginner or have some experience, this software makes capturing your screen straightforward and efficient.
One of the first things you’ll notice about OBS Studio is its open-source nature. This means a community of users and developers is constantly improving it. If you’re looking for a tool that evolves along with your needs, you’re in the right place. You can easily record your screen, add overlays, and even broadcast live.
Setting up OBS Studio is pretty simple. After downloading, you’ll be guided through a setup wizard that helps configure the software based on your system specs. This step is crucial for ensuring that your recordings run smoothly without any hiccups.
The interface might seem overwhelming at first, but you don’t need to worry! There are many tutorials online to help you use the features. You can create scenes, add sources like your webcam, and adjust settings for audio and video quality. This flexibility lets you make tutorials that match your style. One of the best features of OBS Studio is its extensive customization options.
Various plugins can enhance your recordings. For example, you can integrate tools for live chat, alerts, or transition effects, which can make your tutorials more engaging. This capability is particularly useful for educators and content creators who want to give their work a more professional appearance.
Finally, the ability to stream directly to platforms like Twitch and YouTube adds another layer of utility. If you’re planning to share your tutorials with a larger audience, OBS Studio has you covered. You’ll find that the learning curve is well worth it once you start using its advanced features.
Camtasia
Camtasia is a popular choice for anyone looking to create screen recording software tutorials. It’s user-friendly, making it accessible for both beginners and experienced users. The interface is intuitive, allowing you to dive right into recording without feeling overwhelmed.
One of Camtasia’s standout features is its editing capabilities. After recording, you can easily trim clips, add titles, or include background music. This means you can elevate your tutorials by keeping them engaging and professional. Plus, the built-in library offers a variety of assets to enhance your videos further.
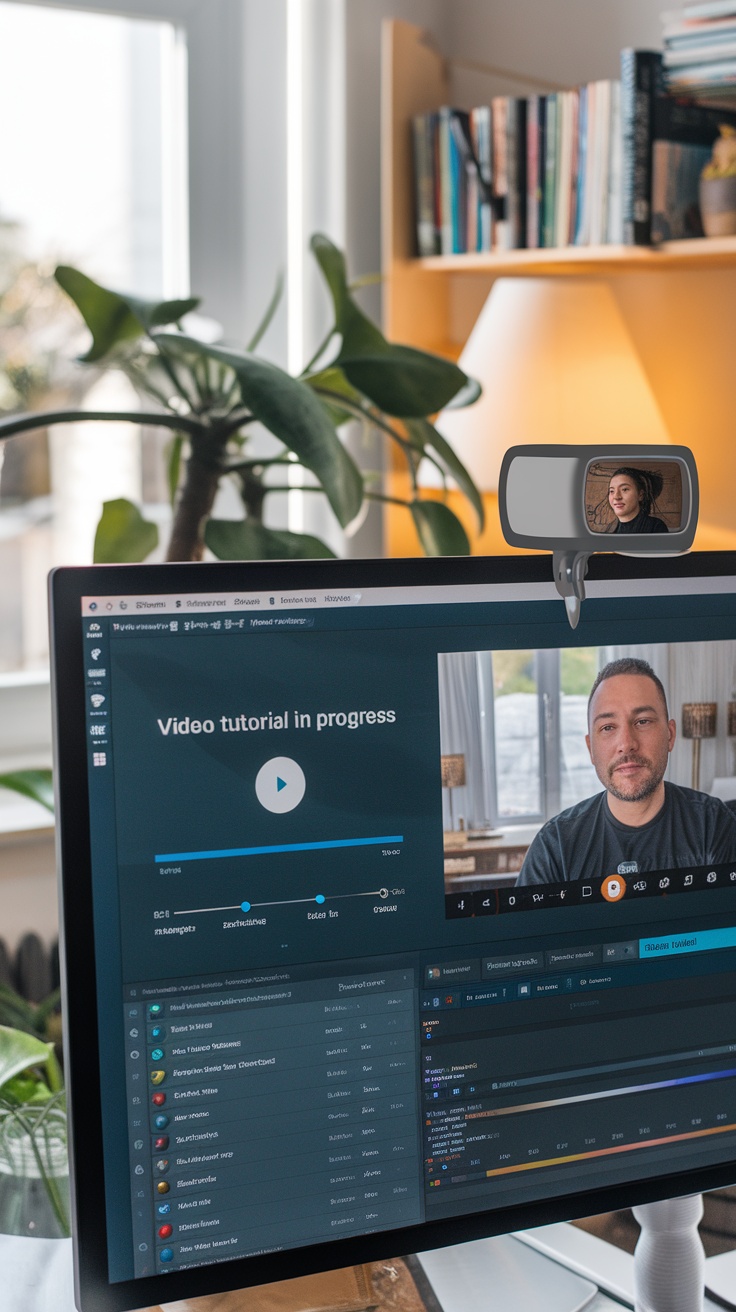
Another perk is the ability to record your screen and webcam simultaneously. This is perfect for tutorial creators who want to add a personal touch. Viewers appreciate seeing the presenter, which can help build a connection and make the content more relatable.
Camtasia provides several options for exporting your videos, allowing you to choose from various formats for easy sharing. Whether you are posting on YouTube, distributing course content, or delivering videos directly to clients, Camtasia has all the tools you need. Lastly, the software includes helpful resources like tutorials and guides, which can be a lifesaver when you’re just starting. With Camtasia, you can focus on your content rather than getting lost in technical details.
Bandicam
Bandicam is an excellent option for screen recording, especially for creating tutorials. It is user-friendly and comes with a variety of features that make video capture easy and efficient. Whether you’re making how-to guides or recording gameplay, Bandicam provides the tools you need to suit your requirements.
Bandicam is great because it can record high-definition recordings. This means your videos won’t be pixelated or blurry, making it easier for your audience to see and understand your tutorials. You can also choose to record specific parts of your screen, which helps you focus on certain tasks or applications.
Another great feature is the option to add voiceovers while recording. This is especially beneficial for tutorials, as you can explain the steps as you progress. Having a clear voiceover can enhance the learning experience for viewers. Also, Bandicam supports webcam overlay. This feature lets you include a video of yourself in the corner of your screen, adding a personal touch to your tutorials.
Editing your recordings is easy with Bandicam. After you capture your video, you can trim and crop your footage using the software. This saves time and keeps everything organized. With Bandicam, you can save your recordings in different formats, facilitating easier sharing across platforms.
Bandicam also offers options for drawing in real time. This means you can highlight key points during your recording. It’s a handy tool for tutorials as it helps emphasize important steps or features. Lastly, the software is relatively lightweight, so it won’t bog down your computer while you’re recording.
Screenpal (Formerly Screencast-O-Matic)
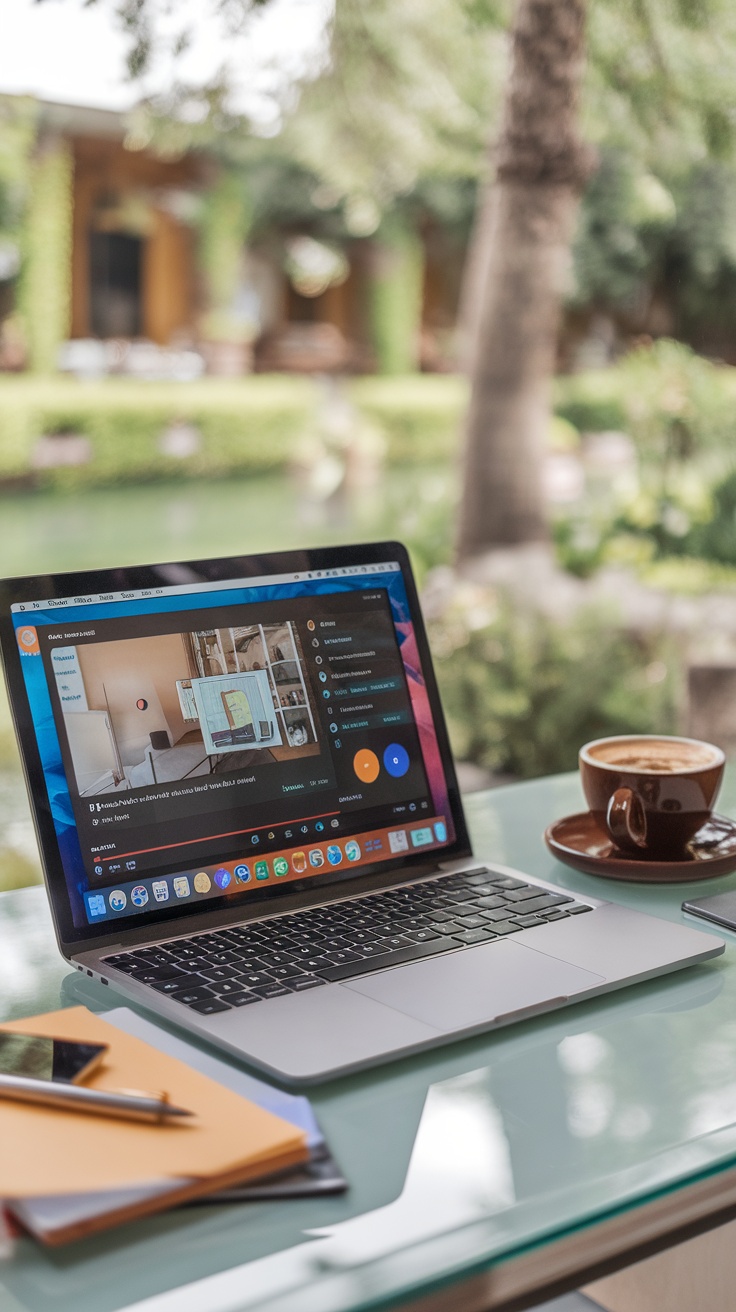
Screenpal, previously known as Screencast-O-Matic, is a user-friendly screen recording software that makes producing tutorials a breeze. Whether you’re a teacher, a content creator, or just someone wanting to share your knowledge, this tool has you covered.
One of Screenpal’s highlights is its simple interface. You don’t need to be a tech wizard to navigate it. You can easily capture your screen in just a few steps. This feature is essential for making software tutorials with screen recordings. You can record everything on your screen, which helps you guide your audience through complicated tasks.
Another great aspect is the editing tools available. After recording, you can trim, cut, and add captions, making your video polished and professional. This is especially useful for tutorials, where clarity is key. You want your viewers to understand the material, and good editing can help achieve that.
Screenpal also supports webcam integration, allowing you to add a personal touch to your tutorials. By showing your face alongside the screen recording, viewers feel more connected. This can make a real difference in how engaging your tutorial is.
Additionally, Screenpal offers cloud storage options, so you can easily save and access your recordings anywhere. This is a big plus for those who work remotely or on multiple devices. You can record a tutorial at one location and edit it later from another, which adds flexibility to your workflow.
Overall, if you’re looking to create screen recording software tutorials, Screenpal stands out as a solid choice. Its combination of ease of use, editing capabilities, and webcam integration makes it suitable for everyone, from beginners to seasoned pros.
Loom
Loom is a standout tool for screen recording tutorials, making the process simple and efficient. Whether you’re creating educational content or demonstrating tasks on your computer, Loom has you covered.
Its user-friendly interface allows you to get started without needing any technical skills. You can seamlessly record your whole screen, a specific application, or a single browser tab, enabling you to concentrate on precisely what you wish to present.
Loom also features webcam recording. Sharing your videos is quick and easy; just send the link to anyone, making it ideal for collecting feedback or disseminating knowledge. Moreover, you can track views and engagement to assess how effectively your tutorial is performing.
For those needing basic editing, Loom offers tools to trim videos, highlight key sections, and add call-to-action buttons, enabling you to create polished tutorials without advanced skills.
In summary, Loom is an excellent choice for creating screen recording tutorials, thanks to its ease of use, flexibility, and sharing capabilities.
Sharex
When it comes to screen recording software tutorials, ShareX stands out as a versatile option for creators. It’s not just about capturing your screen; it’s about sharing your knowledge in a fun and engaging way. Whether you’re showing someone how to use an app or creating a walkthrough for a complex task, ShareX has the tools to make it happen.
One of the major advantages of ShareX is its user-friendly interface. The software provides an intuitive way to navigate its features, including screen capture, GIF recording, and video editing tools. This makes it a great option for beginners who might feel overwhelmed by more complex programs.
Additionally, you can customize the settings to match your recording needs.ShareX also supports a variety of file formats, making it easy to save and share your work. This flexibility is particularly useful when you’re creating screen recording software tutorials, as different platforms may have different requirements. ShareX allows you to export your recordings in the format that works best for your audience.
Another excellent feature is the built-in screenshot tool. With just a click, you can capture specific areas of your screen or take full-screen shots. This is incredibly useful when you want to highlight a particular section during your tutorials. The ability to annotate your screenshots also adds another layer of clarity, ensuring that your viewers can easily follow along.
Remember the sharing options! You can instantly upload your recordings to various platforms, making it simple to get your tutorials out there. ShareX integrates with services like Dropbox, Google Drive, and others so that you can share your work without any hassle. This means you can focus more on creating content and less on the technical details.
In summary, if you’re looking for screen recording software to create tutorials, ShareX checks many boxes. From its ease of use to its broad range of features, it makes creating and sharing engaging content a breeze. Give it a try and see how it can enhance your tutorial-making experience!
Flashback Express
When it comes to screen recording software tutorials, Flashback Express stands out for its ease of use and robust features. Many users appreciate how it simplifies the process of creating high-quality recordings without complicated setups. Whether you’re making a tutorial or capturing gameplay, it offers a smooth experience that caters to both beginners and more advanced users.
This software lets you record your screen, webcam, and audio at the same time, making it perfect for creating tutorials. It also includes tools for editing so that you can trim, cut, and add notes directly in the program. This helps you produce high-quality content quickly. One of the appealing aspects of Flashback Express is its intuitive interface. You won’t need to spend hours figuring out how to use it.
Instead, you can jump right into making your screen recording software tutorials. The clear layout guides you through each step of the recording process, ensuring that you can focus on what matters most—the content. The software enables you to export your recordings in various file formats, providing flexibility for sharing your tutorials across different platforms or websites.
Lastly, if you’re looking to take your tutorials to the next level, Flashback Pro offers additional features like advanced editing and cloud storage options. But even with the free version, you can create quality screen recordings that impress your audience. So, if you’re diving into the world of screen recording, giving Flashback Express a try might be the right move.
Movavi Screen Recorder
This is a good choice for creating software tutorials through screen recording. With its user-friendly interface, even beginners can jump right in and start recording. You don’t need to be a tech wizard to figure this one out!
The software enables you to capture your screen naturally and user-friendly. You can easily select the area to record, whether it’s a small section or the entire screen. This flexibility is perfect for creating tutorials that showcase specific features or tasks.
Adding voiceovers to your recordings is a breeze. Movavi lets you record your voice while screen-capturing, which is essential for guiding viewers through your tutorial. You can also include background music to make the experience more engaging.
A great feature is the ability to schedule recordings. If you want to capture a live stream or webinar, you can set the recording to start at a specific time. This way, you won’t have to stay glued to your computer when the event is happening.
Editing your recordings is simple, too. Movavi provides basic editing tools, allowing you to trim unnecessary parts, add annotations, or even insert text overlays. These features enhance your tutorials and make them more informative.
Finally, once you’ve finished recording, saving your video is straightforward. You can export your finished product in various formats, so it’s easy to share on different platforms. This makes Movavi Screen Recorder a fantastic choice for anyone wanting to produce quality screen recording software tutorials without a steep learning curve.
Conclusion
Concluding our exploration of screen recording software for tutorials, it’s evident that selecting the right tool significantly enhances your ability to share knowledge effectively. Whether you’re creating instructional videos, software demonstrations, or online courses, using quality screen recording software can enhance your content and engage your audience.
Consider what features matter most to you. Do you need simple editing tools, the ability to record audio alongside video, or options for live streaming? Each of these aspects can impact the usability of your tutorials. Test a few different programs to see which one feels most comfortable for you and meets your specific needs.
Moreover, remember that good screen recording software is not just about capturing high-quality footage; it’s also about how you present that footage. Adding annotations, transitions, and voiceovers can elevate your tutorials and make them more informative and enjoyable for viewers.
As you begin your screen recording journey, don’t hesitate to learn from others. Numerous tutorials are available to help you master the software. As you become more comfortable, you’ll discover your unique style and approach to creating effective screen recording tutorials that resonate with your audience.